
How to Install TeamViewer on Mac: A Complete Step-by-Step Guide
This guide walks you through installing TeamViewer on Mac, covering download, permissions, setup, and troubleshooting for smooth remote access.
You need to remotely access a colleague’s MacBook Pro or assist a friend using their MacBook Air, but setting up remote control software seems complex. Understanding the specific steps and permissions required on different Mac models and macOS versions can prevent delays and frustration.
This article explains how to install TeamViewer on Mac, guiding you through the download, installation, permissions setup, and uninstallation processes. You’ll learn how to navigate macOS security prompts, configure the software for first use, and troubleshoot common issues, ensuring a smooth experience regardless of your Mac model.
Key takeaways
- Download TeamViewer only from the official website to avoid security risks.
- Grant permissions in System Preferences under Security & Privacy: Accessibility, Screen Recording, and Full Disk Access are often required.
- Installation steps vary slightly between MacBook Air, MacBook Pro, and other Macs—watch for model-specific prompts.
- Uninstall TeamViewer by removing the app and related system files to avoid leftover components.
- Common issues often relate to incomplete permission settings; rechecking System Preferences can resolve most problems.
Before you start: what you need to install TeamViewer on Mac
To ensure a smooth installation of TeamViewer on your Mac, you need to meet specific system requirements and prepare your device accordingly. TeamViewer supports macOS versions starting from macOS 10.15 (Catalina) and later, including macOS Big Sur, Monterey, and Ventura. Your Mac should have at least 4 GB of RAM and a dual-core processor to run TeamViewer efficiently.
The TeamViewer installer file is approximately 35 to 50 MB in size, so make sure you have sufficient free disk space—at least 100 MB free is recommended to accommodate installation and temporary files. A stable internet connection is essential both for downloading the installer and for TeamViewer’s remote access functions.
You will need administrator access on your Mac to complete the installation and configure necessary permissions. Without admin rights, the installer cannot make the system changes required for TeamViewer to operate properly.
Download TeamViewer only from the official website (https://www.teamviewer.com/en/) to avoid security risks associated with unofficial or third-party sources. The official download page will automatically detect your macOS version and provide the compatible installer.
- Check your macOS version by clicking the Apple menu > About This Mac. You should see macOS 10.15 or later. If your system is older, update macOS before proceeding.
- Verify you have at least 4 GB RAM and a dual-core processor by reviewing the About This Mac overview. This ensures performance stability during remote sessions.
- Confirm you have a stable internet connection by opening a website or running a speed test. TeamViewer requires internet for both download and operation.
- Make sure you can log in with an administrator account. You will be prompted for your password during installation.
- Visit the official TeamViewer website and download the Mac installer. The file size should be about 40 MB. Avoid downloading from other sources.
How to download TeamViewer for Mac safely
To ensure you download a legitimate and current version of TeamViewer for your Mac, follow these steps carefully. Downloading from unofficial sources risks installing outdated software or malware.
- Open your preferred web browser and navigate to https://www.teamviewer.com/en/. You should see the official TeamViewer homepage with a clean, professional layout featuring the TeamViewer logo prominently at the top left.
- Hover over the "Download" menu at the top navigation bar and select "Mac" from the dropdown menu. This directs you to the Mac-specific download page where you will find the latest stable version for macOS clearly displayed.
- Click the "Download TeamViewer" button. Your browser will begin downloading a file named something like "TeamViewer.dmg". The file size typically ranges between 25 MB and 40 MB, indicating a full installer.
- Once downloaded, verify the file’s digital signature if possible. On macOS, right-click the downloaded file, select "Get Info," and check the "Kind" and "Size" fields. Alternatively, use Terminal commands like codesign -v to verify the app’s signature. This confirms the file is from TeamViewer GmbH and not tampered with.
- Avoid downloading from third-party websites, torrent files, or software aggregators. These often provide outdated versions lacking recent security patches or contain malware. Stick to the official TeamViewer site or the Mac App Store when available.
Following these steps ensures you get a secure and up-to-date TeamViewer installer compatible with your Mac.
How to install TeamViewer on MacBook Air, MacBook Pro, and other Macs
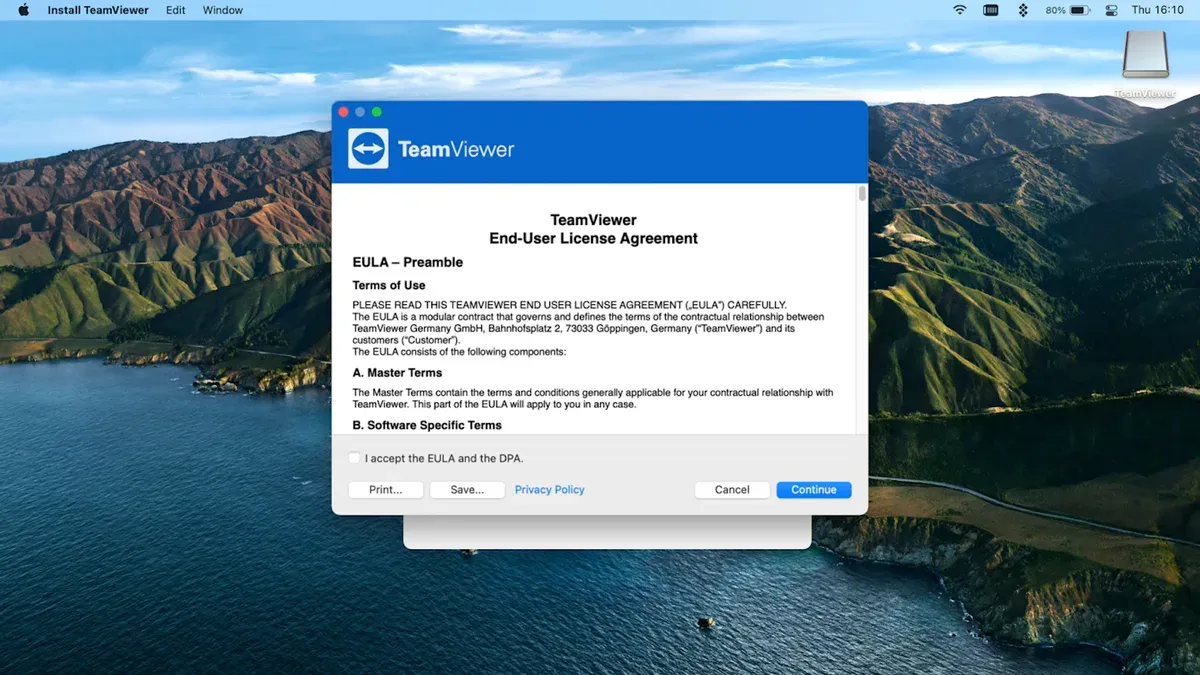
- Locate the downloaded .dmg file in your Downloads folder and double-click it. A new window should open, displaying the TeamViewer app icon and an Applications folder shortcut.
- Drag the TeamViewer app icon into the Applications folder. This copies the app to your system and prepares it for launch. You should see a progress bar indicating the file transfer.
- Open the Applications folder and double-click the TeamViewer app to start it. The first launch may trigger a warning about opening an app downloaded from the internet; click Open to proceed.
- During the initial launch, macOS will prompt you to grant TeamViewer certain permissions. These typically include access to Screen Recording, Accessibility, and Files and Folders. Click Open System Preferences when prompted.
- In System Preferences under Security & Privacy > Privacy, unlock the pane by clicking the padlock icon and entering your administrator password. Then, check the boxes next to TeamViewer for each requested permission category.
- After granting permissions, return to TeamViewer and restart the app. You may need to quit TeamViewer and reopen it to apply the changes effectively.
- Once restarted, TeamViewer will present its main interface with an ID and password visible. This confirms the installation and basic setup are complete, allowing you to start remote sessions.
Common prompt tips: If you miss the permission prompts, TeamViewer will not function fully. You can manually open System Preferences > Security & Privacy > Privacy at any time to adjust permissions. Also, be aware that some macOS versions require Screen Recording permission for remote control features, so granting this is crucial.
How to allow TeamViewer on Mac: managing permissions and security settings
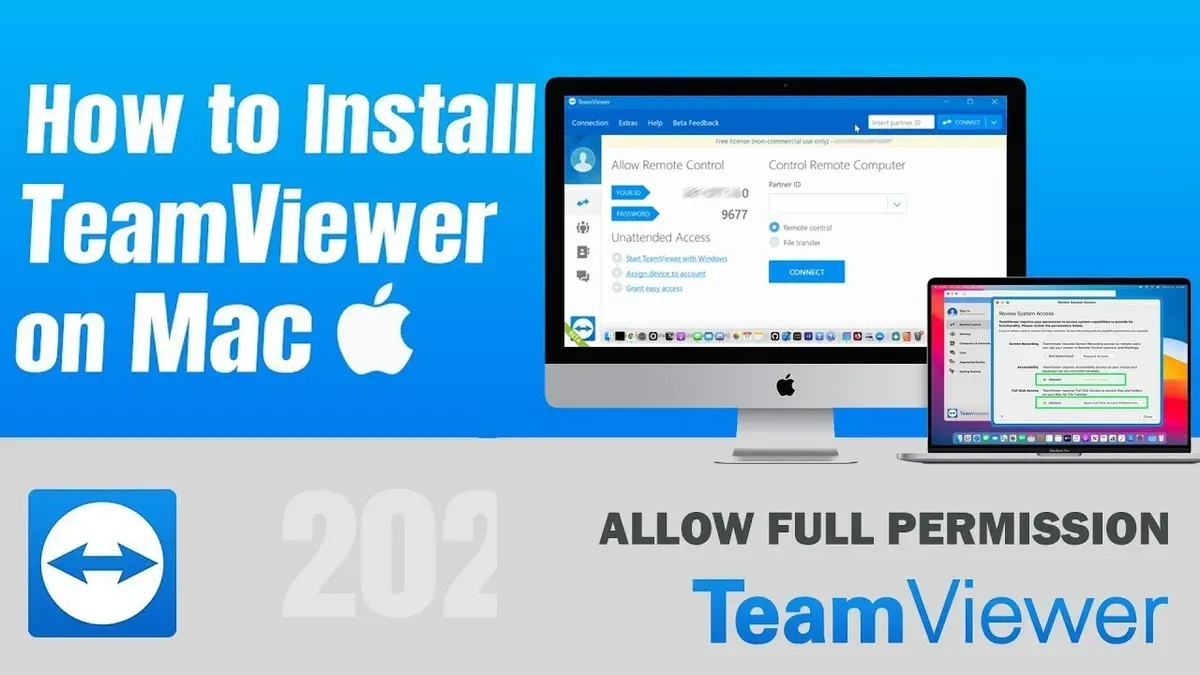
To ensure TeamViewer functions correctly on your Mac, you must grant it specific permissions within macOS security settings. Without these, TeamViewer may not access screen sharing, control features, or file transfers properly.
- Open System Preferences from the Apple menu, then select Security & Privacy.
- Click the Privacy tab at the top of the window.
- In the sidebar, select Accessibility. Click the lock icon in the bottom-left corner and enter your administrator password to make changes.
- Check the box next to TeamViewer to allow it to control your computer. If TeamViewer is not listed, click the plus (+) button, navigate to your Applications folder, select TeamViewer, and click Open.
- Next, select Screen Recording in the sidebar. Repeat the process to add or enable TeamViewer here as well. This permission is required for screen sharing and remote control.
- Then choose Full Disk Access and ensure TeamViewer is enabled. This grants access to files necessary for certain remote operations.
- After granting these permissions, click the lock icon again to prevent further changes.
- Quit TeamViewer completely and relaunch it to apply the new permissions. If issues remain, restart your Mac.
Common errors if permissions are missing: TeamViewer may show error messages like "Screen sharing permission required" or "Access denied" when attempting remote control. The app might freeze or disconnect unexpectedly.
Note: Screenshots of macOS permission dialogs typically show a prompt requesting access when TeamViewer launches for the first time or when a feature requiring permission is used.
How to set up TeamViewer on Mac for first use
- Launch TeamViewer from your Applications folder. You should see the main interface displaying your unique TeamViewer ID and a temporary password in the "Allow Remote Control" section.
- Create or log into your TeamViewer account by clicking "Sign In" at the top right. Enter your email and password or use the "Create account" link to register. Successful login syncs your devices and settings.
- Set up unattended access if you want to connect without someone on the other end. Click "Set up unattended access," enter a computer name, and choose a personal password. You’ll see confirmation that unattended access is enabled, allowing remote connections without approval each time.
- Review your TeamViewer ID and password under "Allow Remote Control." The ID is a permanent identifier for your Mac, while the password changes periodically unless unattended access is configured. Use these credentials to connect from other devices.
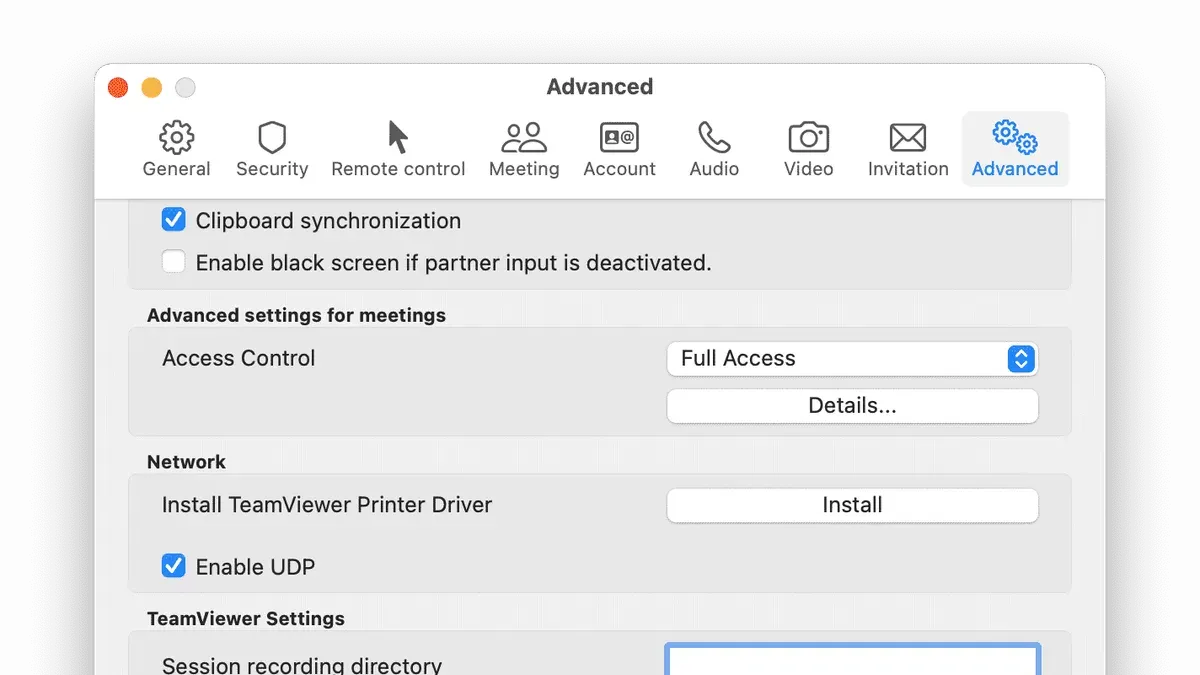
- Adjust connection quality and security settings by going to the TeamViewer menu > Preferences > Advanced. Under "Connection," select "Optimize speed" for low bandwidth or "Optimize quality" for better visuals. Under "Security," configure the password strength and two-factor authentication options to enhance protection.
- Test a remote connection from another device using your TeamViewer ID and password or your account to ensure settings work as expected. Successful connection confirms proper setup.
TeamViewer offers a balance between ease of access and security. Using unattended access with a strong password simplifies repeated connections but increases exposure risk if credentials are compromised. Conversely, using one-time passwords each session enhances security but requires manual approval every time.
How to uninstall TeamViewer on Mac cleanly
To remove TeamViewer completely from your Mac, follow these steps to delete the application itself, related preference files, and any residual launch agents or startup items.
- Quit TeamViewer if it is running by clicking TeamViewer in the menu bar and selecting Quit TeamViewer. You should no longer see the TeamViewer icon in the menu bar.
- Open the Applications folder in Finder and drag TeamViewer.app to the Trash. This removes the main application.
- Remove related preference files by opening Finder, selecting Go > Go to Folder..., entering
~/Library/Preferences/, and deleting files namedcom.teamviewer.TeamViewer.plistand any similar TeamViewer preferences. This usually frees up a few kilobytes of space. - Still in Finder, go to
~/Library/Application Support/and delete the TeamViewer folder if present. This folder may contain logs and configuration files and can occupy tens of megabytes. - Check for launch agents by going to
~/Library/LaunchAgents/and deleting any files containingteamviewerin their names, such ascom.teamviewer.teamviewer_desktop.plist. This prevents TeamViewer from starting automatically. - Open System Preferences > Users & Groups > Login Items and remove TeamViewer if listed, ensuring it does not launch at startup.
- Empty the Trash to finalize the removal.
Following these steps ensures TeamViewer and its related files are fully removed from your Mac, preventing leftover files from occupying space or causing conflicts in the future.
Troubleshooting common TeamViewer installation and permission issues on Mac
If TeamViewer fails to launch or crashes on startup, a frequent cause is corrupted installation or conflicting software. Try restarting your Mac and then relaunching TeamViewer. If it still crashes, reinstall TeamViewer from the official website.
When permission prompts do not appear or are denied, TeamViewer cannot function fully. Ensure you open System Settings > Privacy & Security. Check that TeamViewer is listed and granted permissions under Accessibility, Screen Recording, and Full Disk Access. If the app is missing, click the '+' button to add it manually, then restart TeamViewer.
Connection errors often stem from firewall or network restrictions. If you see messages like "Connection timed out" or "Unable to connect to partner", verify your router and macOS firewall settings allow TeamViewer's network traffic. Temporarily disable firewall or VPN to test connectivity. TeamViewer requires outbound TCP/UDP ports 5938, 443, and 80 to be open.
Compatibility issues after macOS updates can cause unexpected behavior or failure to launch. If you experience persistent problems after a macOS upgrade, check for TeamViewer updates in the app or on their website. Installing the latest version often resolves incompatibility. If problems persist, contact TeamViewer support for patches or workarounds.
- Restart your Mac and open TeamViewer; successful launch means the issue may have been temporary.
- If TeamViewer crashes, uninstall and reinstall it; a stable launch indicates corrupted files were fixed.
- Go to System Settings > Privacy & Security > Accessibility, Screen Recording, and Full Disk Access; add TeamViewer if missing and ensure checkboxes are enabled; relaunch TeamViewer and confirm permission prompts no longer appear.
- Temporarily disable firewall or VPN; try connecting again; success shows network restrictions were blocking TeamViewer.
- Check for TeamViewer updates; install any available; relaunch and verify functionality restored.
- How to Install Microsoft Teams on Mac: A Complete Step-by-Step Guide
- How to Install Zoom on Mac: A Clear Step-by-Step Guide
- How to Install Snagit on Mac: A Clear Step-by-Step Guide
- How to Install and Use Loom on Mac: A Complete Step-by-Step Guide
Frequently asked questions
Can you download teamviewer on mac?
Yes, you can download TeamViewer on Mac directly from the official TeamViewer website. Ensure you select the Mac version to get the appropriate installer compatible with your macOS. Avoid third-party sites to prevent corrupted or outdated files.
Can you use teamviewer on mac?
TeamViewer is fully functional on Mac, allowing you to remotely access and control other devices or let others access your Mac. It supports various Mac models, including MacBook Air and MacBook Pro, but requires proper permissions to work smoothly.
How to install teamviewer on linux machine?
To install TeamViewer on a Linux machine, download the appropriate package for your distribution from the TeamViewer website. For Debian-based systems, use the.deb file and install it via terminal with sudo dpkg -i teamviewer_*.deb. Follow prompts to resolve dependencies, and launch TeamViewer from your applications menu.
How to install teamviewer on apple mac?
Download the TeamViewer DMG file from the official website, open it, and drag the TeamViewer app into your Applications folder. Open the app, then grant necessary permissions in System Preferences under Security & Privacy to enable screen recording and accessibility features for full functionality.
Can you download TeamViewer on Mac?
Yes, TeamViewer is available for Mac and can be downloaded safely from the official TeamViewer website. Make sure to download the version compatible with your macOS to avoid installation issues.
What this guide does not cover and who should do something else
This guide does not cover TeamViewer license options or advanced network configurations such as VPN setups, firewall rules, or proxy servers. If you require enterprise-level features, multi-user management, or specialized network environments, it is best to consult TeamViewer’s official documentation or contact their support team for tailored assistance.
The single most useful next step is to test your TeamViewer connection between your Mac and the remote device immediately after setup. Doing so helps confirm that permissions are correctly configured and that both devices can communicate without interruption, helping you avoid surprises when you need remote access the most.



