
How to Install WireGuard on Mac: A Clear Step-by-Step Guide
This guide shows you how to install WireGuard on Mac, covering client and server setup, tips, and troubleshooting for a secure VPN.
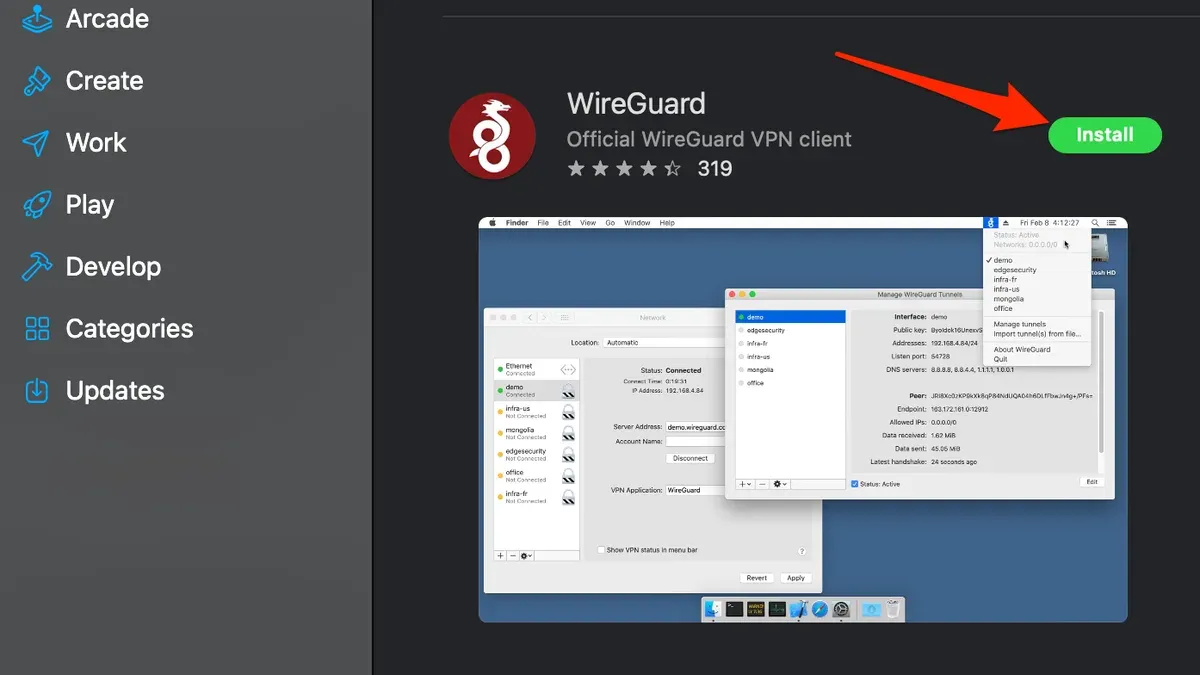
You want to secure your internet connection on your Mac with WireGuard, but you’re unsure how to get it running. Whether you prefer using the Mac App Store or want to avoid it, understanding how to install WireGuard on Mac is essential for a smooth setup.
Figures and menu paths here were checked against GetIP.online, ProxyLink in November 2026.
Quick overview of installing WireGuard on Mac
- WireGuard requires macOS 10.14 (Mojave) or later and administrator access for installation.
- You can install WireGuard from the Mac App Store for a graphical experience or use Homebrew to install command-line tools.
- After installation, import your VPN configuration file into the WireGuard app to create tunnels.
- Setting up a WireGuard server on macOS involves command-line configuration and network adjustments.
Choosing the right installation method for your needs
If you want a straightforward graphical interface and automatic updates, installing WireGuard from the Mac App Store is the best option. For users who prefer terminal control or have restrictions on the App Store, installing WireGuard tools with Homebrew is suitable. Running a WireGuard server on your Mac is more advanced and requires command-line knowledge.
Installing WireGuard via the Mac App Store
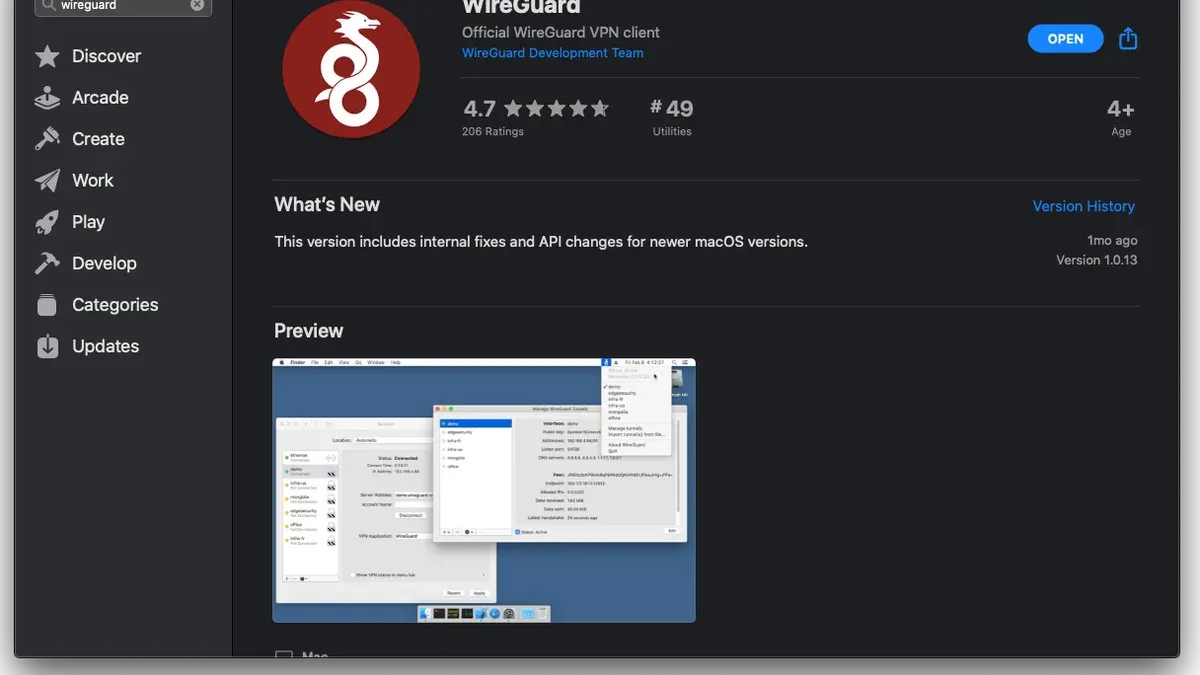
- Open the App Store on your Mac.
- Search for WireGuard and locate the official app by the WireGuard Development Team.
- Click Get and then Install. Authenticate if prompted.
- Launch WireGuard from Applications. When prompted, grant the necessary network permissions to allow VPN functionality.
- Confirm installation by checking that the app opens and offers to import or create tunnels.
This method requires macOS 10.14 or later and provides automatic updates through the App Store.
Installing WireGuard without the App Store using Homebrew
- Install Homebrew if you haven’t already (visit https://brew.sh).
- Open Terminal and run:
brew install wireguard-tools. - Once installed, you can manage WireGuard tunnels via command line using
wgandwg-quickcommands. - To check the installation, run
wg --versionin Terminal; it should display the installed version.
This approach suits users comfortable with Terminal and does not provide a graphical interface. It also requires you to handle updates manually.
Importing and managing VPN tunnels in WireGuard
After installation, you need to import your VPN configurations to connect. These configurations specify keys, peers, and routing information.
- Open the WireGuard app (if using the App Store version) and select File > Import tunnel(s) from file from the menu bar.
- Locate your WireGuard configuration file (.conf) and import it.
- The tunnel will appear in the app with a toggle switch to activate or deactivate the connection.
- Activate the tunnel and verify the connection status shows as active.
If you installed via Homebrew, use wg-quick up <tunnel-name> in Terminal to activate tunnels.
Setting up WireGuard as a client on Mac
Use WireGuard on your Mac to connect securely to a remote VPN server by importing or creating a client configuration.
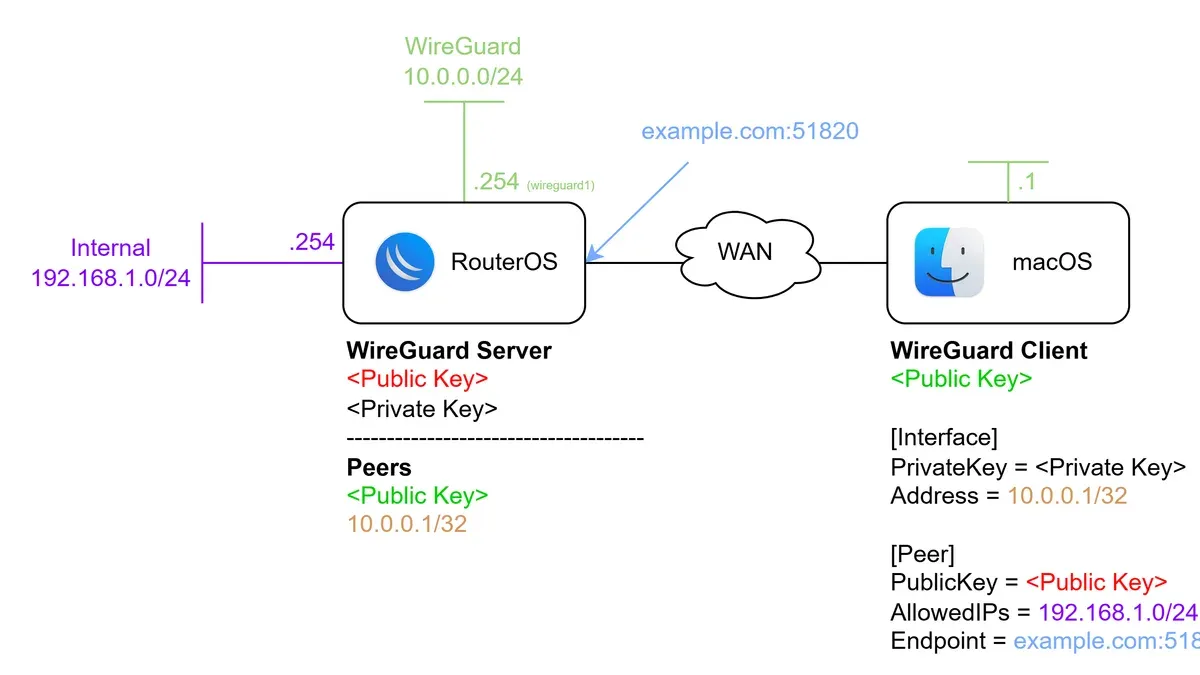
- Generate a private and public key pair either within the WireGuard app or via Terminal.
- Create or obtain a configuration file that includes your private key, the server’s public key, endpoint address, and allowed IPs.
- Import this configuration into WireGuard.
- Activate the tunnel to establish the VPN connection.
- Confirm your external IP address has changed to the VPN server’s IP.
Example client configuration sections:
| Section | Example Content |
|---|---|
| [Interface] | PrivateKey = your_private_key Address = 10.0.0.2/32 |
| [Peer] | PublicKey = server_public_key Endpoint = vpn.example.com:51820 AllowedIPs = 0.0.0.0/0 |
Running a WireGuard server on your Mac
Setting up your Mac as a WireGuard VPN server is for advanced users comfortable with Terminal commands and network configuration.
- Install WireGuard tools using Homebrew:
brew install wireguard-tools. - Generate key pairs for the server and clients with
wg genkeyandwg pubkey. - Create a server configuration file (e.g.,
/usr/local/etc/wireguard/wg0.conf) with interface and peer sections. - Enable IP forwarding:
sudo sysctl -w net.inet.ip.forwarding=1. - Configure firewall rules to allow UDP port 51820.
- Start the WireGuard interface:
sudo wg-quick up wg0. - Distribute client configs securely and test connectivity from client devices.
Verifying your WireGuard connection on Mac
Check your VPN connection status easily:
- In the WireGuard app, active tunnels show a green toggle and connection details.
- Use Terminal commands like
wg showto view interface status and handshake info. - Confirm your public IP address matches the VPN server using online services or
curl ifconfig.me.
Troubleshooting common WireGuard issues on Mac
Granting system extension permissions
On first launch, macOS may prompt you to approve a system extension required for WireGuard. Without this, VPN tunnels won’t work. Approve the prompt in System Preferences > Security & Privacy.
Permission errors during installation
If installation fails due to permissions, ensure you have administrator rights. For manual installs, run the installer with sudo installer -pkg /path/to/WireGuard.pkg -target /.
Connection issues and no internet access
If connected but no traffic passes, check your DNS settings in the configuration. Adding DNS = 1.1.1.1 often resolves this. Also, verify your firewall allows UDP port 51820.
Configuration file errors
Errors activating tunnels often come from syntax mistakes in config files. Validate brackets, keys, and IP formats. Use online validators or the WireGuard app’s import feature to catch errors.
Firewall and network conflicts
macOS firewall or other VPN software can block WireGuard traffic. Ensure WireGuard is allowed in firewall options and disable conflicting VPNs or proxies.
How WireGuard on Mac compares to Windows
| Aspect | Mac | Windows |
|---|---|---|
| Installation | Mac App Store app or Homebrew command-line tools | Official client from website or Microsoft Store |
| Interface | Minimalist GUI with menu bar; Terminal needed for advanced tasks | More comprehensive GUI with guided configuration |
| Configuration | Manual or import via GUI; config files stored in ~/Library/Application Support/WireGuard | GUI-driven import/export; config files in %APPDATA%\WireGuard |
| Updates | Automatic via App Store or manual for Homebrew | Automatic via Microsoft Store or manual download |
| Security | Requires explicit system extension permissions | Integrated with Windows Defender and kernel driver |
Windows offers a more user-friendly GUI and guided setup, while Mac’s native app integrates well but may require more manual configuration for advanced users.
- How to Install Fortnite via GeForce Now on Mac: A Clear Step-by-Step Guide
- How to Open and Install.pkg Files on Mac: A Clear Step-by-Step Guide
- How to Install Oh My Zsh in Mac Terminal: A Clear Step-by-Step Guide
- How to Install Node.js with NVM on Mac: A Clear Step-by-Step Guide
Frequently asked questions
How to install WireGuard on macOS without using the App Store?
Use Homebrew to install WireGuard command-line tools by running brew install wireguard-tools in Terminal. This installs the core utilities without a GUI and requires manual configuration.
How to install WireGuard on Windows?
Download the official Windows installer from the WireGuard website or Microsoft Store. Run the installer and follow prompts to complete installation.
How to set up WireGuard on Windows?
Open the WireGuard app, add a new tunnel by importing a.conf file or creating one manually with keys and peer info. Activate the tunnel to connect.
How to configure WireGuard?
Generate private and public keys for each device. Create configuration files defining the interface with keys and IP addresses, and peers with their public keys and allowed IPs. Import these into the WireGuard app or use command-line tools.
Choosing between installation methods depends on your preference for graphical interfaces or terminal control. For most users, the Mac App Store app offers simplicity and automatic updates. For those needing command-line flexibility or avoiding the App Store, Homebrew installation is appropriate. Running a WireGuard server on macOS suits users comfortable with network configuration and Terminal commands.
References
- macOS WireGuard Setup - GetIP.online — GetIP.online
- macOS WireGuard Setup Guide — Remote Access | ProxyLink — ProxyLink



