How to Repair Permissions in Mac Terminal: Step-by-Step Guide
This guide shows how to repair permissions in Mac Terminal using commands to fix permission errors and restore file access safely.
You try to open a file or run a script in Terminal, but you’re blocked by a “permission denied” or “operation not permitted” error. These messages can prevent you from accessing important files or running commands, leaving you unsure how to fix the issue yourself.
This article explains how to repair permissions in Mac Terminal using practical commands. You will learn how to check current permissions, modify them safely, and troubleshoot common errors to restore access without relying on graphical tools. By following clear, step-by-step instructions, you can confidently resolve permission problems and improve your system or directory access through Terminal.
Key takeaways
- Use
ls -lto check permissions on files and directories. - Change permissions with
chmodand ownership withchowncommands. - Run Terminal as an administrator with
sudoto avoid permission errors. - Repair disk permissions using
diskutiland First Aid for system files. - Adjust Security & Privacy settings if Terminal commands are blocked by macOS protections.
Before you start: What you need to repair permissions in Mac Terminal
To repair permissions on your Mac using Terminal, you must have administrator access. This means being able to run commands prefixed with sudo, which grants temporary elevated privileges necessary to modify system or directory permissions. For example, the command sudo chmod 755 /path/to/directory requires your administrator password and allows permission changes.
You should have a basic understanding of Terminal commands and the macOS file system's permission structure, including concepts like read, write, and execute rights for owner, group, and others. Without this knowledge, improper changes can lead to inaccessible files or system instability.
Backing up critical data before making permission changes is essential. Mistakes can cause unexpected behavior or data loss, so create a complete backup using Time Machine or another reliable method. This step safeguards your data and allows recovery if needed.
- Confirm you have administrator rights by opening Terminal and running sudo -v. If successful, you will not see an error and may be prompted for your password.
- Ensure you understand basic commands like ls -l to list permissions and chmod to modify them. You should be comfortable navigating directories and interpreting permission codes.
- Create a full backup of your important files using Time Machine or a manual copy to external storage. Verify the backup completes successfully before proceeding.
How to check permissions on Mac using Terminal
To identify current permissions on files and directories, you can use the ls -l and stat commands in Terminal. These commands reveal who can read, write, or execute the files.
- Interpret the permission bits by position: the first digit is the file type, the next three digits represent owner, group, and others in numeric mode (read=4, write=2, execute=1). For example,
644means owner can read/write (6), group can read (4), and others can read (4).
Next, use stat /path/to/file_or_directory for detailed information. Sample output includes:
| Field | Value |
|---|---|
| File: | example.txt |
| Size: | 1024 |
| Access: | 2026-10-16 12:00:00.000000000 +0000 |
| Mode: | 100644 (-rw-r--r--) |
| Uid: | 501 (user) |
| Gid: | 20 (staff) |
This confirms the permission string and shows the numeric mode (100644), owner user ID (Uid), and group ID (Gid).
Open Terminal and type ls -l /path/to/file_or_directory. You will see output similar to this:
| Example output |
|---|
| -rw-r--r-- 1 user staff 1024 Oct 16 12:00 example.txt |
The first part -rw-r--r-- shows the permissions: the first character indicates the file type ("-" for regular file), followed by three sets of permissions for owner, group, and others. Here, the owner can read and write (rw-), group can read only (r--), and others can read only (r--).
How to change permissions on Mac with Terminal commands
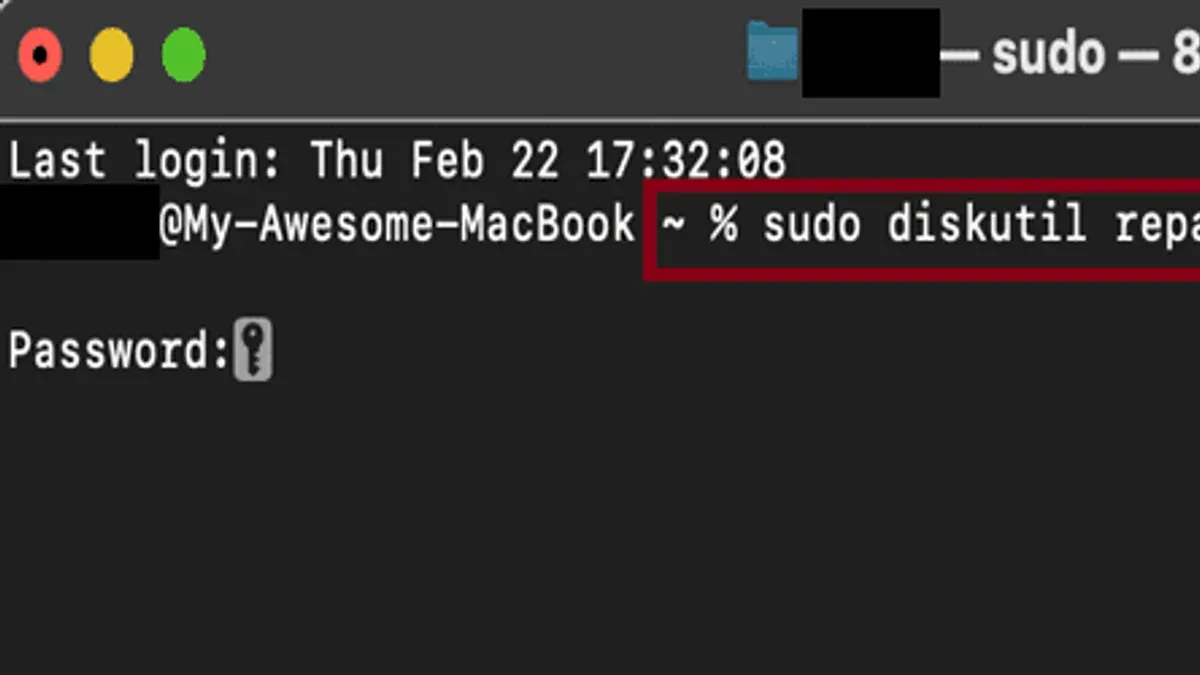
To modify permissions on your Mac, you mainly use chmod to adjust permission settings, and chown or chgrp to change ownership of files or directories. chmod controls who can read, write, or execute, while chown and chgrp assign user and group ownership, respectively.
- Open Terminal and navigate to the directory containing the file or folder you want to modify.
- Use
chmodwith symbolic or numeric modes. For example,chmod u+rwx filenamegrants the file owner read, write, and execute permissions. Success is indicated by no error message. - To change ownership, enter
sudo chown username filename. Replaceusernamewith the desired user. You will be prompted for your password; no error means ownership changed. - To change the group, use
sudo chgrp groupname filename. Replacegroupnamewith the target group. Successful execution shows no errors. - Apply recursive changes cautiously with the
-Rflag, e.g.,sudo chmod -R 755 foldernameto set read, write, execute for owner and read, execute for group and others on all contents. Confirm no error appears.
These commands let you tailor permissions and ownership, resolving access issues or preparing directories for shared use. Always verify the scope before applying recursive changes to avoid unintended permission alterations.
How to fix command prompt permissions and repair disk permissions on Mac
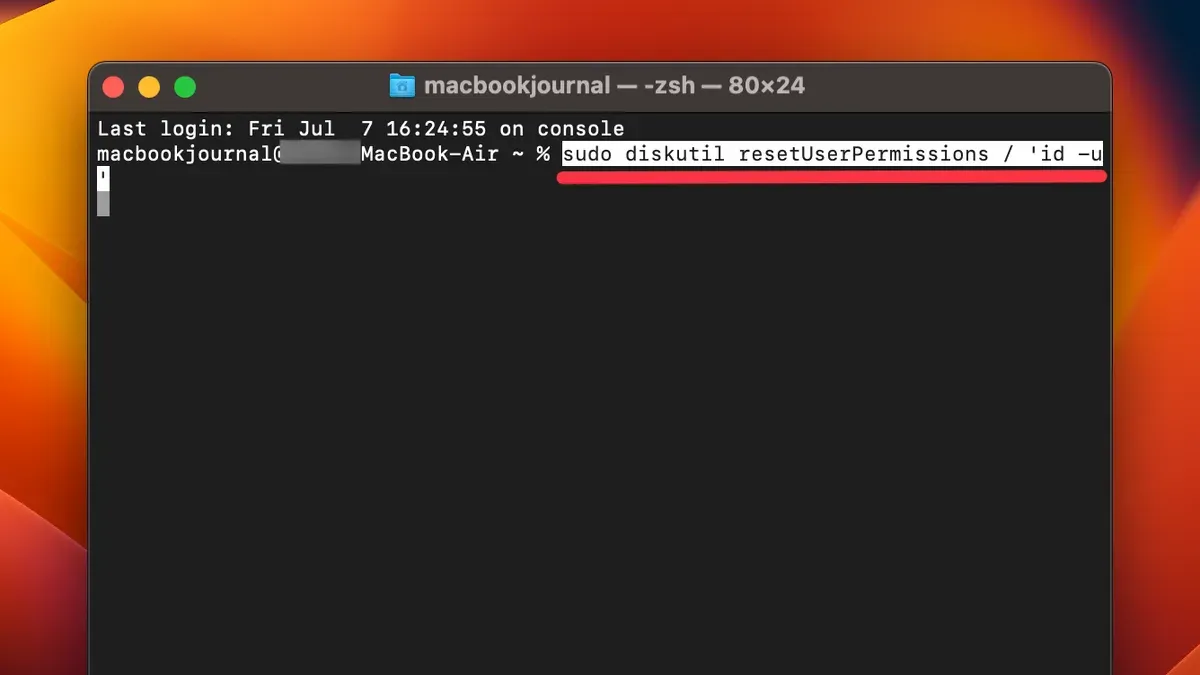
If you experience permission issues that limit Terminal usage or slow system performance, repairing user directory permissions is a practical step. The diskutil resetUserPermissions command targets your home directory, restoring file and folder permissions to their default state.
- Open Terminal and run diskutil resetUserPermissions / `id -u`. This command resets permissions in your user directory based on your user ID.
Expected output: "Permissions reset on user home directory" or a confirmation message indicating success. - If the command reports errors or fails, manually reset permissions on key directories such as
~/Documents,~/Downloads, and~/Libraryusing chmod and chown with appropriate flags.
Expected result: Permission changes apply without error, restoring access. - Note that repairing disk permissions via Terminal replaced the older Disk Utility feature for macOS system files, focusing now on user directories instead of system-wide permissions.
Before running these commands, you may observe restricted access or frequent "permission denied" errors in Terminal. After successful execution, permission listings (via ls -l) show correct ownership and access rights, allowing smoother command prompt operations and improved system responsiveness.
How to allow permission on Mac and fix 'permission denied' or 'operation not permitted' in Terminal
Errors like permission denied or operation not permitted occur when your current user lacks the required privileges to perform a command or access a file. These errors often arise because the Terminal session isn’t running with administrator rights or due to macOS security features like System Integrity Protection (SIP).
- Check if you have administrator rights by running groups. Look for admin in the output. If not present, you lack admin privileges.
- Prepend commands with sudo to run them with elevated privileges. For example, sudo chmod 755 /path/to/file. After entering your password, the command should execute without a permission error.
- If you still get operation not permitted, SIP might be restricting access. SIP protects critical system files and cannot be disabled lightly. To check SIP status, run csrutil status in Recovery Mode Terminal.
- Only disable SIP temporarily if absolutely necessary by booting into Recovery Mode, opening Terminal, and running csrutil disable. Restart normally, perform required commands, then re-enable SIP with csrutil enable to maintain security.
- Use chmod and chown carefully to adjust permissions or ownership. Avoid overly permissive settings like 777, as they expose security risks.
Example error: chmod: /path: Operation not permitted—try sudo chmod or verify SIP status before modifying protected files.
Troubleshooting common permission issues in Mac Terminal
If sudo commands fail or are blocked, it often indicates either a missing administrator privilege or System Integrity Protection (SIP) restrictions. To confirm, try running sudo -v to refresh privileges; failure here suggests insufficient rights or a disabled sudo access.
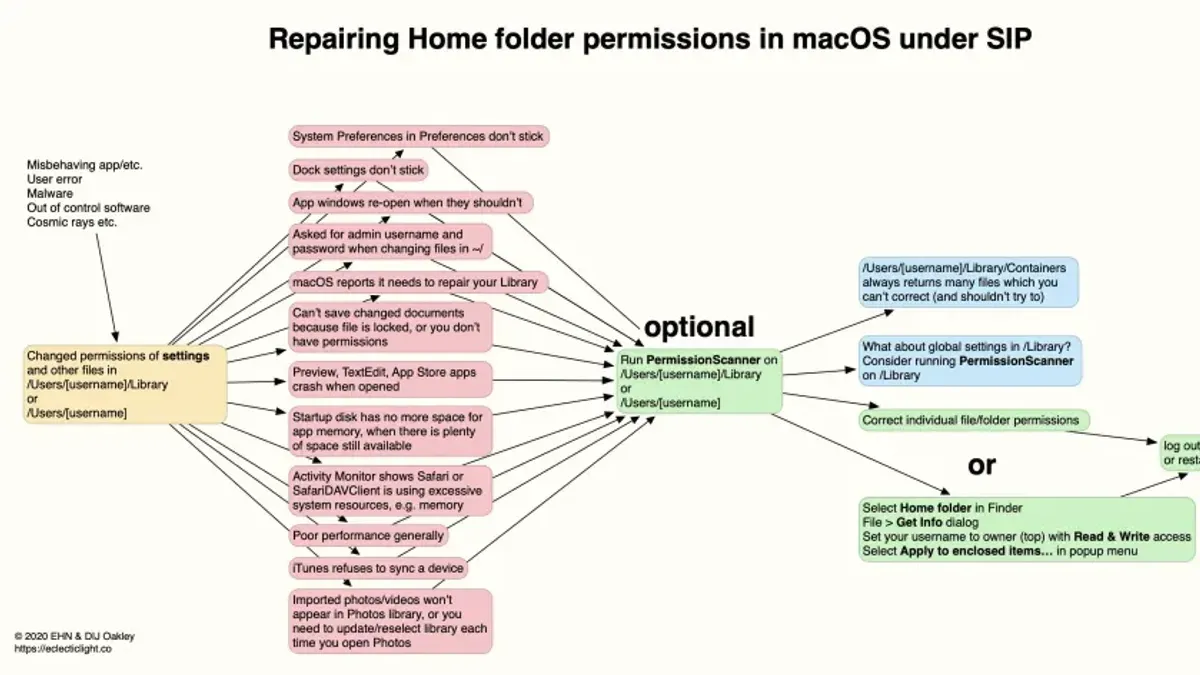
Files locked by the system or owned by root can cause access issues. Use ls -lO to check for the uchg (user immutable) flag indicating a locked file, or verify ownership is root for system files.
If permissions issues persist, booting into recovery mode or safe mode can help repair them. In recovery mode, you can run diskutil resetUserPermissions / `id -u` to reset user permissions. Safe mode performs a disk check and disables third-party extensions that might interfere.
Follow these steps to troubleshoot stubborn permission problems:
- Run
sudo -v. If prompted for a password and it succeeds, sudo access is active. If denied, verify your user is in the admin group via System Preferences > Users & Groups. - Check if the file is locked by running
ls -lO /path/to/file. If uchg appears, unlock it withsudo chflags nouchg /path/to/file. Successful unlock removes the flag. - Verify ownership with
ls -l /path/to/file. If root owns a file you should access, usesudo chown yourusername /path/to/filecautiously to regain control. - Restart your Mac in recovery mode by holding Command + R during boot. Open Terminal from Utilities and run
diskutil resetUserPermissions / `id -u`. Completion without error indicates a successful reset. - Restart in safe mode by holding Shift during boot. Once logged in, try your permission commands again to see if interference is resolved.
If these approaches do not resolve the issue or if you encounter critical system files, avoid further manual changes. Consult Apple Support or a professional technician to prevent system instability or data loss.
- How to Take Ownership with chown in Mac Terminal: A Step-by-Step Guide
- How to Use sudo Safely in Mac Terminal: A Step-by-Step Guide
Frequently asked questions
How to access permissions on mac?
You can access permissions on Mac by selecting a file or folder in Finder, then pressing Command + I to open the Info window. Under the "Sharing & Permissions" section at the bottom, you can view and modify access rights for different users or groups. For more granular control, you can also use the Terminal to view and change permissions with commands like ls -l and chmod.
How to repair permissions windows 11?
On Windows 11, repairing permissions is different from macOS and typically involves using built-in tools like the System File Checker (SFC) or Deployment Image Servicing and Management (DISM). You can run sfc /scannow in an elevated Command Prompt to check and repair system file permissions. There is no direct equivalent of macOS’s repair permissions function in Windows 11.
How to fix permission denied in terminal mac?
When you encounter "permission denied" in Terminal on Mac, it usually means you lack the necessary rights for the file or command. Use ls -l to check current permissions, then apply chmod or chown commands to modify them if you have the rights. Running commands with sudo can also help, but use it cautiously to avoid system issues.
How to fix command prompt permissions on Mac Terminal
Fixing command prompt permissions involves verifying and adjusting the permission settings of the relevant files or directories using commands like chmod to change modes or chown for ownership. If Terminal commands themselves fail, ensure you have Full Disk Access enabled for Terminal in System Preferences under Privacy & Security. Using sudo may also be necessary for administrative tasks.
How to access permissions on Mac using Terminal
In Terminal, use ls -l followed by the file or directory name to see detailed permission information. The output shows read (r), write (w), and execute (x) permissions for the owner, group, and others. To modify permissions, use chmod with appropriate mode numbers or symbolic notation, and chown to change ownership if required.
What this advice does not cover and who should consider other options
This article does not cover repairing permissions on APFS volumes using third-party tools or addressing deep system-level damage that requires reinstalling macOS. If you encounter persistent permission errors after following these steps, or if your disk shows signs of corruption or hardware failure, it is advisable to consult Apple Support or a professional technician. Additionally, modifying system file permissions beyond recommended commands can lead to instability or security risks.
The most useful next step is to back up your data regularly using Time Machine or another reliable method before performing any permission repairs. This ensures that, if anything goes wrong during the process, you can restore your system to a working state without data loss.