How to Resize Images with sips in Mac Terminal: A Clear Step-by-Step Guide
Discover fast and practical ways to resize images with sips in Mac Terminal, including batch processing and metadata checks.
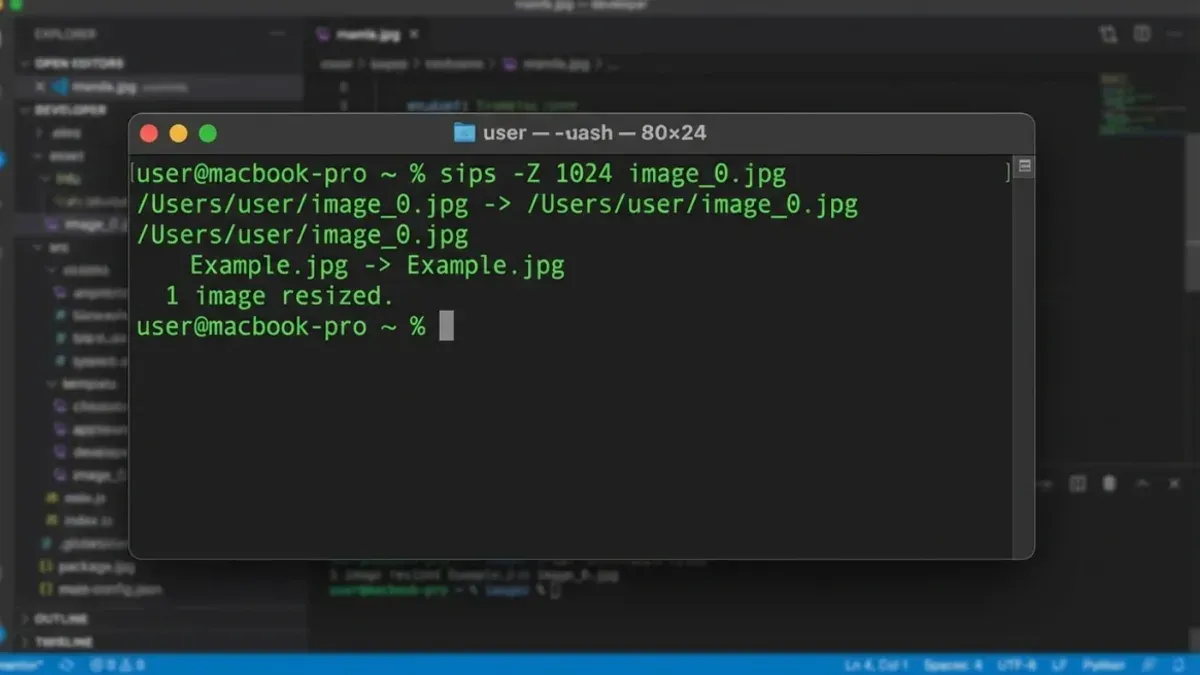
You have a folder full of photos that are too large to email or upload conveniently. Instead of opening each one in Preview, you want a fast way to resize them directly from the Terminal. This article explains how to resize images with sips in Mac Terminal, showing you practical command variations for different resizing needs.
You'll learn how to specify exact pixel dimensions, scale images by percentage, and process multiple files in a batch. Additionally, you'll find tips on checking image metadata to verify your changes and guidance on troubleshooting common issues encountered when using sips for resizing.
Key takeaways
- Use the -Z option to resize an image by specifying the maximum pixel dimension.
- The --resampleWidth and --resampleHeight flags allow precise control over image width or height.
- Batch resize multiple images with a simple for loop in Terminal.
- Check image metadata with sips -g all to confirm resize results.
- Common issues include unsupported formats and permissions errors; ensure images are accessible and compatible.
Before you start: What you need to use sips for image resizing
sips (Scriptable Image Processing System) is a built-in command-line tool on macOS designed for basic image manipulation, including resizing. Because it is integrated into the system, you don’t need to install any additional software or libraries to use it for image resizing.
Sips supports common image formats such as JPEG, PNG, TIFF, GIF, and HEIC. Your image files must be accessible from the Terminal, so understanding how to navigate directories where your images reside is essential.
To open Terminal, go to Applications > Utilities > Terminal or use Spotlight search by pressing Command + Space and typing "Terminal." Once open, you can use commands like cd to change directories to the folder containing your images.
- Open Terminal from your Utilities folder or Spotlight.
What you should see: A command prompt ready for your input. - Navigate to your image folder by typing
cdfollowed by the path, e.g.,cd ~/Pictures.
What you should see: The prompt changes to reflect the new directory. - Check sips availability and version by typing
sips --versionor view help withsips --help.
What you should see: Version information or a list of sips commands and options.
Understanding these prerequisites ensures you’re prepared to resize images efficiently using sips in Terminal.
How to resize an image by specifying pixel dimensions
To resize an image by exact pixel width or height using sips, use the --resampleWidth or --resampleHeight options. Specifying only one dimension automatically adjusts the other to maintain the original aspect ratio, preventing distortion.
- Open Terminal and navigate to the folder containing your image.
- Run
sips --resampleWidth 800 input.jpg --out resized.jpgto resize the image width to 800 pixels. The height adjusts proportionally. After running, resized.jpg is created without overwriting input.jpg. - Alternatively, resize by height with
sips --resampleHeight 600 input.jpg --out resizedHeight.jpg. This sets the height to 600 pixels, adjusting width accordingly. - Check the resized image dimensions by running
sips -g pixelWidth -g pixelHeight resized.jpg. It should confirm the new pixel size. - Verify file sizes before and after resizing using
ls -lhto see the changes in storage space.
These commands create new image files, so your originals remain intact. This approach helps you control exact pixel dimensions without manual calculations.
How to resize images by percentage scale with sips
Sips does not support resizing images directly by a percentage scale. Instead, you must calculate the target pixel dimensions based on the original image size and then use those values with the --resampleWidth or --resampleHeight options.
Follow these steps to resize an image to a specific percentage:
- Check the original image dimensions using
sips -g pixelWidth -g pixelHeight image.jpg. Note the width and height values. - Calculate the new dimensions by multiplying the original width and height by your desired scale factor (for example, 0.5 for 50%).
- Use the calculated pixel width or height with sips, for example,
sips --resampleWidth 800 image.jpg --out resized.jpg, where 800 is the new width.
Example: If an image is 1600x1200 pixels, resizing to 50% means new dimensions of 800x600 pixels. Run sips --resampleWidth 800 image.jpg --out resized.jpg to resize proportionally.
Resizing by percentage gives more intuitive control over scale but requires manual calculation, increasing the risk of errors. Absolute pixel resizing is straightforward but less flexible when you want relative scaling.
Batch resizing multiple images with sips in Terminal
To resize several images efficiently, you can use shell loops like for in bash or zsh. This method lets you apply sips commands to each file in a folder without overwriting originals by creating new output files.
- Open Terminal and navigate to the folder containing your images. You should see your images listed with
ls *.jpg(replacejpgwith your image extension). This confirms the files to process. - Check the resized images with
file *_resized.jpgor open them to verify the new width and that aspect ratio is preserved.
For larger batches or nested folders, find is helpful:
find. -name "*.jpg" -exec sh -c 'sips --resampleWidth 800 "$1" --out "${1%.jpg}_resized.jpg"' _ {} \;This searches recursively and resizes each image found.
To process a limited set, for example five images, use a loop with a counter:
count=0; for img in *.jpg; do if [ $count -ge 5 ]; then break; fi sips --resampleWidth 800 "$img" --out "${img%.jpg}_resized.jpg" count=$((count + 1)) doneRun a loop like the following to resize all JPG images to a width of 800 pixels, saving resized files with a _resized suffix:
for img in *.jpg; do sips --resampleWidth 800 "$img" --out "${img%.jpg}_resized.jpg"; doneYou should see no errors, and new files named with _resized will appear in the folder.
Batch resizing with sips is generally quick for small to moderate numbers of images but can slow down with thousands of files. In such cases, consider dedicated image-processing tools optimized for bulk operations. Always verify output filenames to avoid accidental overwriting, and monitor disk space because resized images may still consume significant storage.
Checking image metadata and verifying resize results
After resizing images with sips, verifying the changes ensures your intended output is achieved. You can inspect image properties such as pixel dimensions and format using sips itself.
- Compare the original and resized images by running the command on both files. The resized image should display the new dimensions you specified.
- Check file sizes using
ls -lh image.jpg resized-image.jpg. While smaller dimensions usually reduce file size, compression and format also affect this. - Use other tools such as
file image.jpgto confirm the image format remains unchanged, ensuring compatibility.
Run sips -g pixelWidth -g pixelHeight image.jpg to print the width and height of the image. You should see output like:
pixelWidth: 800
pixelHeight: 600
This confirms the current dimensions.
Note that sips primarily handles resizing and format conversion but offers limited control over image quality or compression settings. For fine-tuning quality, dedicated image editing tools may be necessary.
Troubleshooting common sips resizing issues
When using sips, permission errors often occur if you lack read or write access to the image files or folders. For example, "sips: couldn't open file for reading" indicates you may need to adjust file permissions or run Terminal with elevated privileges.

Unsupported or corrupted image files can cause errors like "sips: error: unsupported image format". Verify your file format is standard (JPEG, PNG, TIFF) and try opening the image in Preview to confirm it’s not corrupted.
Forcing both width and height with sips (e.g., sips --resampleWidth 300 --resampleHeight 200 image.jpg) can distort the aspect ratio because sips does not preserve proportions when both dimensions are set. To avoid this, resize using only one dimension.
Sometimes sips silently fails or produces no output. This often happens if the output filename matches the input or if the command syntax is incorrect. Ensure you specify a different output file or use the --out option explicitly.
If sips cannot meet your specific resizing needs, such as advanced quality control or complex batch operations, consider alternatives like ImageMagick or Preview for GUI-based resizing.
- Check file permissions by running
ls -l image.jpg. If you see insufficient permissions, usechmodto add read/write access. Successful access shows no permission error when running sips. - Confirm image integrity by opening it in Preview. If it opens, the file is valid; if not, replace or repair the file.
- Resize with one dimension only:
sips --resampleWidth 300 image.jpg --out resized.jpg. The resized image should keep the original aspect ratio without distortion. - Use
--outto specify a unique output filename. For example,sips --resampleWidth 300 image.jpg --out newimage.jpgcreates a new file and avoids silent failure.
- How to Convert Audio with afconvert in Mac Terminal: Step-by-Step Guide
- How to Change Screenshot Location Using Defaults Write in Mac Terminal
- How to Change Screenshot Format to JPG on Mac: Step-by-Step Guide
- How to Download Files Using curl in Mac Terminal: A Step-by-Step Guide
Frequently asked questions
Can sips resize images without losing quality?
sips uses macOS’s built-in image processing, which preserves as much quality as possible during resizing. However, any time you reduce an image’s dimensions, some detail is lost because pixels are removed or merged. To minimize quality loss, avoid repeatedly resizing the same image or enlarging it beyond its original size.
How do I keep the aspect ratio when resizing with sips?
By default, sips maintains the aspect ratio when you use the --resampleWidth or --resampleHeight options alone. To resize while preserving the original proportions, specify only one dimension, and sips will calculate the other automatically. If you specify both width and height, the image may be distorted unless those dimensions match the original aspect ratio.
Is it possible to resize images in bulk with sips?
Yes, sips can batch resize images by running a loop in Terminal. You can use a shell script or a simple for-loop command to process multiple files in a folder, applying the same resizing options to each. This approach is efficient for handling numerous images without third-party apps.
What image formats does sips support for resizing?
sips supports common image formats including JPEG, PNG, TIFF, HEIC, GIF, and BMP. It can resize these formats without converting them unless you specify a different output format explicitly. Some less common or proprietary formats may not be supported.
Limits of using sips for image resizing
sips offers basic image resizing capabilities but lacks advanced quality controls such as fine-tuned compression settings and color profile management. It also does not provide the batch processing speed or automation features found in specialized image processing software. If you regularly handle large volumes of images or require precise control over output quality, dedicated tools like ImageMagick or Adobe Photoshop may be better suited to your needs.
For efficient and accurate resizing with sips, focus on understanding the exact pixel dimensions or percentage scales you want to apply, and verify results by checking image metadata post-resize. The most useful next step is to experiment with resizing a single image using pixel dimensions and then confirm the output with sips -g pixelWidth -g pixelHeight. This hands-on approach helps you grasp how sips interprets your commands and ensures predictable resizing before moving on to batch operations.