How to Sync Settings in VS Code on Mac: A 2026 Step-by-Step Guide
Discover how to sync settings in VS Code on Mac using your Microsoft account for a consistent coding environment across devices.
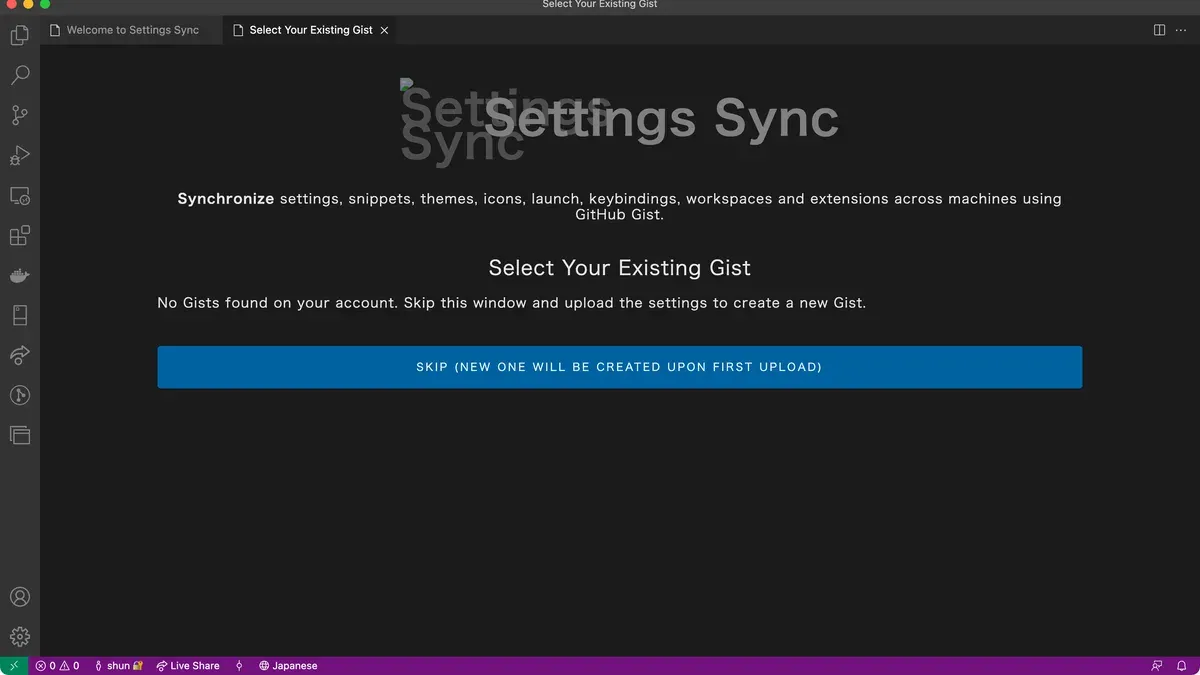
You often work on multiple Macs and want your VS Code environment to feel consistent everywhere. Setting up syncing correctly saves time and avoids frustrating mismatches in extensions, themes, and keybindings.
This guide covers how to sync settings in VS Code on Mac, focusing on using your Microsoft account to synchronize preferences across devices in 2026. It also explains syncing between Macs and touches on broader syncing workflows involving your iPhone and other Apple devices. You’ll learn practical steps to install VS Code, enable sync, troubleshoot common issues, and optimize your setup for seamless coding sessions.
Key takeaways
- Use your Microsoft account in VS Code’s Settings Sync to synchronize extensions, settings, and keyboard shortcuts across Macs.
- Ensure VS Code is updated to the latest 2026 version to avoid compatibility problems during syncing.
- Syncing between Mac and iPhone involves leveraging iCloud and Microsoft account integration for related settings, not direct VS Code syncing.
- Common sync issues often stem from authentication errors or network problems; verify account status and connectivity first.
- Quick access to sync is via the gear icon in VS Code’s lower-left corner under Settings Sync options.
Before you start: What you need to sync VS Code settings on Mac
To ensure a smooth syncing experience with VS Code on your Mac, you need several prerequisites in place. First, your Mac should be running a compatible macOS version. As of 2026, VS Code requires macOS 12.0 (Monterey) or later to install and run the latest 2026 version. Older macOS versions may not support the newest features or syncing capabilities.
Next, you must have the latest 2026 version of VS Code installed on all the Macs where you want to sync settings. This ensures compatibility and access to the newest Settings Sync feature enhancements. You can download it from the official Visual Studio Code website.
VS Code uses your Microsoft account for syncing. If you don't have one, you will need to create it. Microsoft accounts are widely used, and millions of developers rely on them for syncing VS Code settings and extensions. Signing up is free and straightforward.
A stable internet connection is essential. Syncing happens through cloud services tied to your Microsoft account, so interruptions can cause delays or conflicts.
Finally, having a basic familiarity with VS Code's interface, including how to manage extensions and settings, will help you navigate the sync options with confidence.
- Check your macOS version by selecting the Apple menu > About This Mac. Confirm it is macOS 12.0 or newer. You should see your current version number displayed.
- Download and install the latest VS Code 2026 version from https://code.visualstudio.com. After installation, launch VS Code and verify it opens without errors.
- Create or sign in to your Microsoft account at https://account.microsoft.com. Once signed in, you will have access to VS Code's sync services.
- Verify your internet connection is stable by opening a browser and loading a few web pages. You should experience consistent connectivity.
- Open VS Code and explore the Settings and Extensions panels to familiarize yourself with the interface. This prepares you for adjusting sync options later.
How to install VS Code on Mac
- Visit the official Visual Studio Code website at https://code.visualstudio.com/ and click the Download for Mac button. You should see a VSCode-darwin-universal.zip file start downloading.
- Once the download completes, open the Downloads folder and double-click the VSCode-darwin-universal.zip file to unzip it. This creates the Visual Studio Code.app file.
- Drag the Visual Studio Code.app to your Applications folder. This step ensures VS Code is properly installed and accessible from the Launchpad or Spotlight search.
- Open the Applications folder and double-click Visual Studio Code.app to launch it. The first launch may prompt you to confirm opening an application downloaded from the internet—click Open to proceed.
- On launch, you may see a welcome screen with setup tips. Close or follow the prompts as you prefer. VS Code is now ready for use.
- To enable quick access via Terminal, open VS Code, press Cmd + Shift + P to open the Command Palette, type Shell Command: Install 'code' command in PATH, and press Enter. You should see a confirmation message that the command was installed.
- Test the installation by opening Terminal and typing
code .inside any folder. VS Code should launch and open that folder. This confirms thecodecommand is working.
Installation success rates for VS Code on macOS Ventura and later remain high when following these steps precisely. Common issues arise when failing to move the app to Applications or when security settings block opening downloaded apps.
How to sync VS Code settings on Mac using your Microsoft account
Syncing your VS Code settings across devices starts with linking your editor to your Microsoft account. This allows seamless synchronization of preferences, extensions, and more.
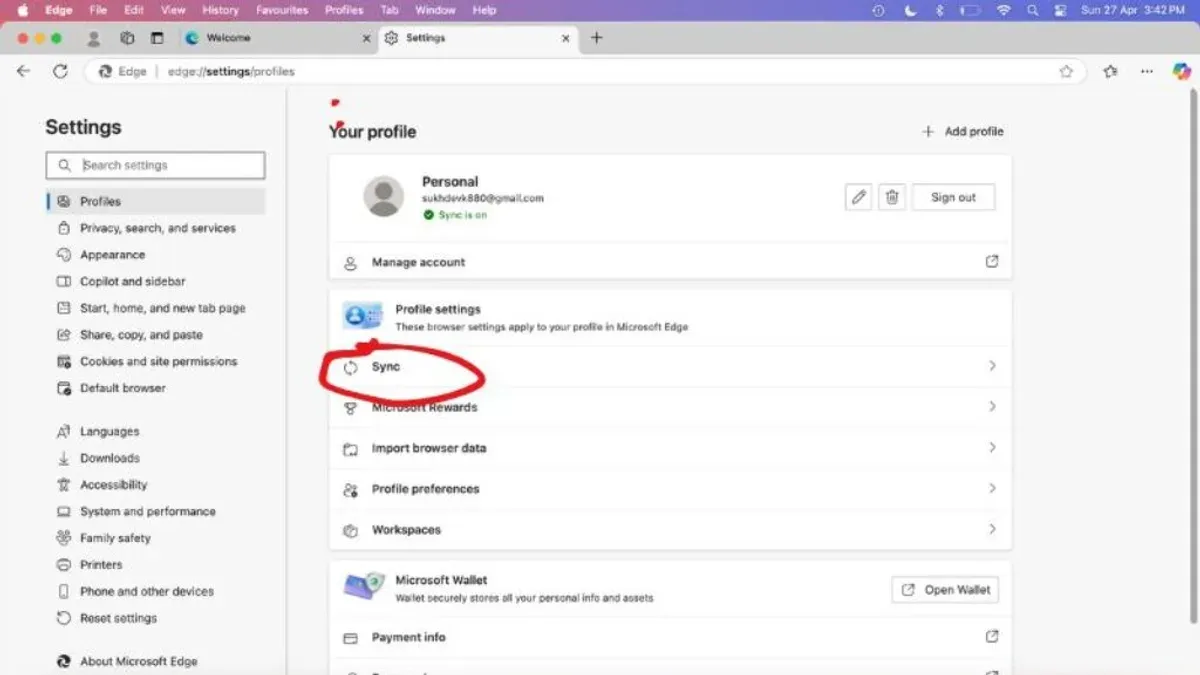
- Open VS Code on your Mac and click the gear icon in the lower-left corner to open the Settings menu. You should see a "Turn on Settings Sync..." option; click it.
- A prompt will appear asking you to sign in. Choose the Microsoft account option and enter your credentials. Once signed in, VS Code confirms your account connection.
- After signing in, a dialog will ask which data you want to sync. You can select Settings, Keybindings, Extensions, and UI State. Choose as needed and click "Turn on".
- VS Code will immediately begin syncing your selected data. You can observe the sync status by clicking the gear icon and viewing the sync activity, which usually completes within a few seconds depending on your internet speed.
- Once enabled, any changes you make to your settings, keybindings, or installed extensions will automatically sync to other devices signed into the same Microsoft account with sync enabled.
For example, after enabling sync, installing a new extension on one Mac will appear on your other synced Macs within moments. Any modifications to your editor’s theme or shortcuts are also propagated automatically.
This process centralizes your VS Code environment, reducing manual setup across devices. However, syncing large extensions or UI state changes may take slightly longer and occasionally require a manual sync trigger via the gear menu if automatic sync seems delayed.
How to sync VS Code across multiple Mac computers
- Sign in to the same Microsoft account on each Mac. Open VS Code, click on the Accounts icon in the Activity Bar, and select Sign in with Microsoft. Once signed in, you should see your account email displayed.
- Verify that Settings Sync is enabled on all devices. Go to Settings (Cmd+,), search for "Settings Sync", and ensure the toggle for Turn on Settings Sync is active. You should see a confirmation message indicating sync is enabled and the last sync time.
- Wait for synchronization to complete. Sync times vary depending on changes and internet speed but typically finish within a few seconds to a minute. Check the Accounts menu for the last synced timestamp to confirm.
- Handle conflicts proactively. If you edit the same setting or extension on multiple Macs before syncing, VS Code will prompt you with a conflict resolution dialog upon next sync. Choose to keep local changes, remote changes, or merge manually. For example, if you updated keybindings differently on two computers, resolve conflicts using this prompt to maintain consistency.
- Manage offline or intermittent internet scenarios. VS Code queues your changes locally and syncs when the connection is restored. To avoid outdated settings, open VS Code on each Mac while online regularly. You can check sync status at the bottom of the Accounts menu where it indicates if changes are pending.
How to sync VS Code settings beyond Macs: syncing with iPhone and other Apple devices
VS Code settings sync is officially supported only on desktop platforms like macOS, Windows, and Linux. As Microsoft documentation clarifies, there is currently no native VS Code app for iPhone, so direct syncing of VS Code editor settings to iOS devices is not possible.
However, you can synchronize your broader development environment data between Mac and iPhone by leveraging Apple’s iCloud and third-party tools. For instance, iCloud Drive can store code snippets, configuration files, or project data accessible from both devices through compatible apps.
To sync system and app data between your Mac and iPhone, use Apple’s built-in iCloud syncing features. On your Mac, open System Settings > Apple ID > iCloud and enable syncing for relevant apps. On your iPhone, go to Settings > [your name] > iCloud and ensure the same options are enabled. This syncs contacts, calendars, notes, and some app data but does not extend to VS Code-specific settings.
For syncing coding workflows involving VS Code on Mac and iPhone, a practical approach is using Git repositories hosted on platforms like GitHub or Azure DevOps. You can edit code on your iPhone using code editors that support Git integration, then push changes which VS Code on Mac pulls later.
- On your Mac, ensure your development files are stored in a Git repository hosted on a cloud service; verify you can push and pull changes.
- On your iPhone, install a compatible Git-aware code editor app (such as Working Copy) and clone the repository; confirm you can edit and commit changes.
- Use iCloud Drive to store shared configuration files or snippets accessible via compatible apps on both devices.
- Check that iCloud syncing is enabled for apps storing your development data on both devices to keep system-level data consistent.
- Accept that VS Code-specific UI and extension settings will not sync to iPhone; plan workflows accordingly.
In summary, syncing VS Code settings directly between Mac and iPhone is not supported in 2026. Instead, use cloud-based version control and iCloud for related data syncing to maintain your development environment across Apple devices realistically.
How to use the sync settings feature effectively in VS Code
Maximizing VS Code’s sync feature involves customizing what you synchronize to avoid unnecessary clutter or conflicts. You can select specific items such as settings, keybindings, extensions, or UI state to keep your synced profile lean and relevant.
- Open VS Code and go to Settings via Code > Preferences > Settings. In the search bar, type Sync.
- Click Settings Sync: Configure and then Turn On or Manage to see syncing options.
- Select the categories you want to sync (for example, disable syncing of UI State if you want to prevent window layouts from changing).
- To quickly set up a new Mac or restore your environment after reinstalling macOS, sign in to your Microsoft account in VS Code and enable sync. Your chosen settings and extensions will download automatically.
- Manage your synced extensions by reviewing the Extensions tab in the sync settings, allowing you to avoid installing unnecessary or conflicting extensions on new devices.
- If you need a break from syncing—for example, when testing new configurations—use the Pause Sync option under sync settings. This temporarily suspends synchronization without losing your current setup.
Users report saving time during device transitions and reinstallations by relying on this selective sync approach, preventing the frustration of unwanted extensions or conflicting configurations appearing unexpectedly.
Troubleshooting common VS Code sync issues on Mac
If VS Code is not syncing settings on your Mac, start by confirming you are signed into your Microsoft account. Check this by clicking the Accounts icon in the Activity Bar; it should display your signed-in email. Also verify your internet connection is stable, as syncing requires online access.
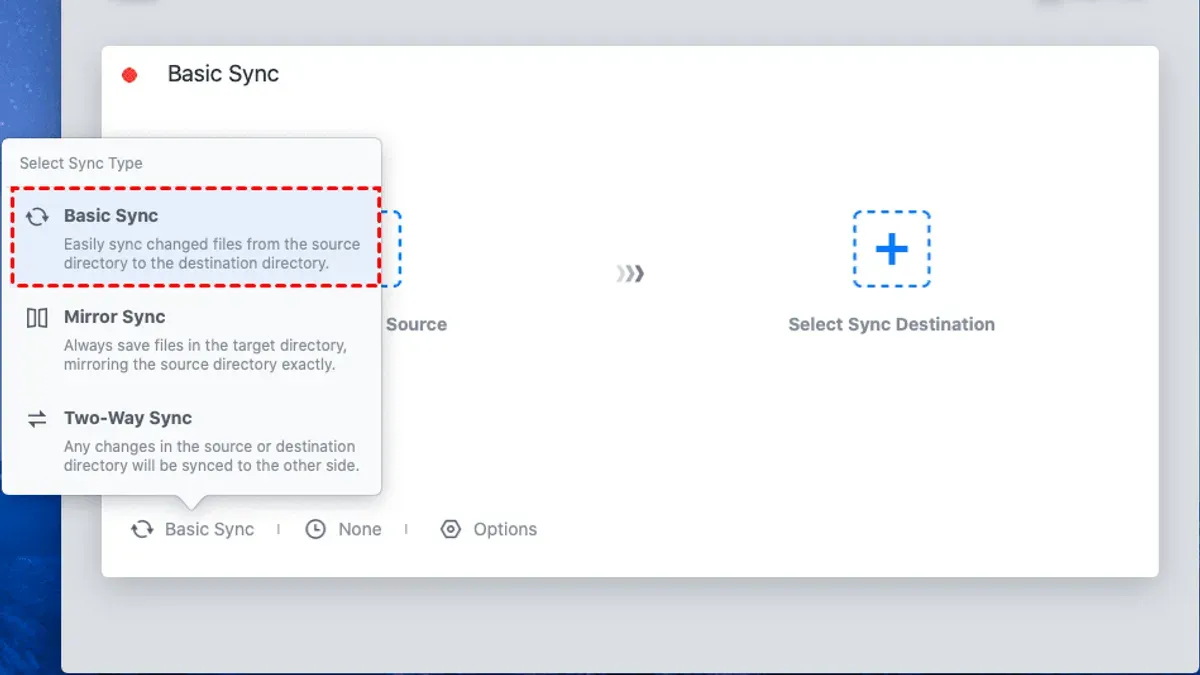
When you see sync conflicts or errors, open the Output panel via View > Output and select "Settings Sync" from the dropdown. Common messages like "Sync failed: Authentication token expired" indicate token refresh issues. To fix this, sign out and back into your Microsoft account under Settings > Accounts, which refreshes permissions.
If "Settings Sync is On" but changes do not appear on other devices, ensure those devices are also signed into the same Microsoft account with sync enabled. Check for any "Sync is disabled due to conflicting changes" prompts and resolve conflicts by choosing which version to keep.
- Open VS Code and click the Accounts icon; verify your Microsoft account shows as signed in. You should see your email address. If not, sign in.
- Check your internet connection by opening a browser to a reliable site. If offline, reconnect and retry syncing.
- Go to View > Output > Settings Sync; look for error messages. Note errors like "Authentication token expired" or "Sync failed due to conflict."
- If token issues appear, open Settings (Cmd+,), go to Accounts, sign out, then sign back in. Confirm the account email reappears.
- If conflicts show, open the Sync Status notification and select which settings to keep. Confirm changes by checking if sync status updates.
- On other Macs, verify you are signed into the same Microsoft account and have sync enabled under Settings > Settings Sync.
- For persistent issues, consult the official Microsoft VS Code forum at https://github.com/microsoft/vscode/wiki/Settings-Sync#troubleshooting for updates and community solutions.
How to open VS Code on Mac and start syncing quickly
To begin syncing your VS Code settings on Mac promptly, you can launch the application from several convenient locations.
- Open VS Code from Finder by navigating to your Applications folder and double-clicking the Visual Studio Code icon. Upon launch, you should see the Welcome screen and a sync status icon in the bottom-left corner of the window.
- Alternatively, use the Dock if you have pinned VS Code there. Click the VS Code icon to open it, then check the sync status icon—a circular arrow or checkmark indicates syncing is active.
- For Terminal users, open Terminal and type code followed by Enter. This launches VS Code and opens the last active workspace. If you see an error that 'code command not found,' you need to enable it via VS Code’s Command Palette (⇧⌘P) by typing Shell Command: Install 'code' command in PATH. After launching, verify the sync status icon in the bottom-left corner.
- To access sync settings quickly, use the keyboard shortcut ⇧⌘P to open the Command Palette, then type Settings Sync and select Settings Sync: Show Synced Data or Turn On Settings Sync if it’s not active.
- When launching VS Code for the first time on a new Mac, sign in with your Microsoft account when prompted. This triggers the initial sync and downloads your settings, extensions, and keybindings automatically. Confirm syncing by looking for the sync icon and a notification indicating sync completion.
Visual indicators such as the sync icon in the status bar and confirmation messages ensure you know when syncing is active and successful. These steps help you start syncing VS Code without delay on any Mac.
- How to Use GitHub Copilot in VS Code on Mac: A 2026 Step-by-Step Guide
- How to Change Font Size in VS Code on Mac: A 2026 Step-by-Step Guide
Frequently asked questions
How to sync vscode?
To sync VS Code, open the app and click the gear icon in the lower-left corner, then select "Settings Sync". Sign in with your Microsoft account to enable syncing. You can choose which data to sync, including settings, extensions, keybindings, and UI state. Make sure syncing is enabled on all devices you want to keep consistent.
How to sync vs code across devices?
Ensure VS Code is installed on each device and signed in with the same Microsoft account. Enable "Settings Sync" on each device under the gear menu. The sync process uploads your chosen settings and extensions to the cloud and downloads them on other devices automatically. Network connectivity and matching VS Code versions help avoid conflicts.
How to sync mac computers?
For Mac computers, use the built-in iCloud features alongside VS Code’s syncing for development settings. Enable iCloud Drive and ensure System Preferences > Apple ID > iCloud has "Desktop & Documents Folders" checked. This syncs general files and some app data. For VS Code-specific settings, rely on the app’s Microsoft account sync feature.
How to sync iphone with mac?
Syncing iPhone with Mac involves enabling iCloud services like Photos, Contacts, and iCloud Drive on both devices under Settings on iPhone and System Preferences on Mac. For app-specific data, use apps compatible with iCloud or other syncing services. VS Code settings do not sync directly to iPhone, but you can access files via cloud storage apps.
How to sync my mac and iphone?
Use iCloud to sync essential data such as photos, contacts, calendars, and documents by signing in with the same Apple ID on both devices. Enable relevant toggles in Settings > [your name] > iCloud on iPhone and System Preferences > Apple ID > iCloud on Mac. For other data types, third-party apps with cross-platform support may be necessary.
What this guide does not cover and who should look elsewhere
This guide does not cover syncing VS Code settings on non-Mac platforms in depth or syncing development environment files, such as your project source code or database configurations. It exclusively addresses syncing editor settings via your Microsoft account. Additionally, syncing VS Code settings does not sync project files or non-VS Code app data between your Mac and iPhone, so file synchronization requires separate tools.
The single most useful next step is to ensure your Microsoft account is properly signed in and connected within VS Code’s Settings Sync panel. This connection enables seamless syncing of key editor preferences across all your Macs and is the foundation for troubleshooting any sync issues you might encounter. Verifying this early saves time and helps maintain a consistent coding environment across devices.