
How to Install and Set Up OpenVPN on Your Mac Step-by-Step
Step-by-step guide to installing and setting up OpenVPN on your Mac using official clients or terminal for secure VPN connections.
If you want to know how to install OpenVPN on Mac, the practical choice is between OpenVPN Connect and Tunnelblick, because macOS does not include a built-in OpenVPN client.
Use OpenVPN Connect if you want the official client and your Mac runs a supported macOS version. Use Tunnelblick if you want a free, open-source client and you use an Apple Silicon Mac.
| Client | Best fit | Install source | macOS support | Notable point |
|---|---|---|---|---|
| OpenVPN Connect | Readers who want the official OpenVPN client | OpenVPN website | 12 Monterey, 13 Ventura, 14 Sonoma, 15 Sequoia, Tahoe 26, Golden Gate 27 | Requires importing a.ovpn profile and granting permissions during setup |
| Tunnelblick | Readers who want a free, open-source client | Official Tunnelblick website | Compatible with macOS, with native Apple Silicon support | Does not require Rosetta on Apple Silicon Macs |
If your provider gives you a.ovpn file, both clients can use it. If your priority is the official app and broad recent macOS support, choose OpenVPN Connect. If you want open-source software and are on Apple Silicon, choose Tunnelblick.
Last verified November 2026 against RealVPN, OpenVPN.
Install OpenVPN Connect when you want the official client
OpenVPN Connect is the official macOS client, and it is the right pick when you want a supported app from OpenVPN rather than a third-party alternative. It works on macOS 12 Monterey, 13 Ventura, 14 Sonoma, 15 Sequoia, Tahoe 26, and Golden Gate 27.
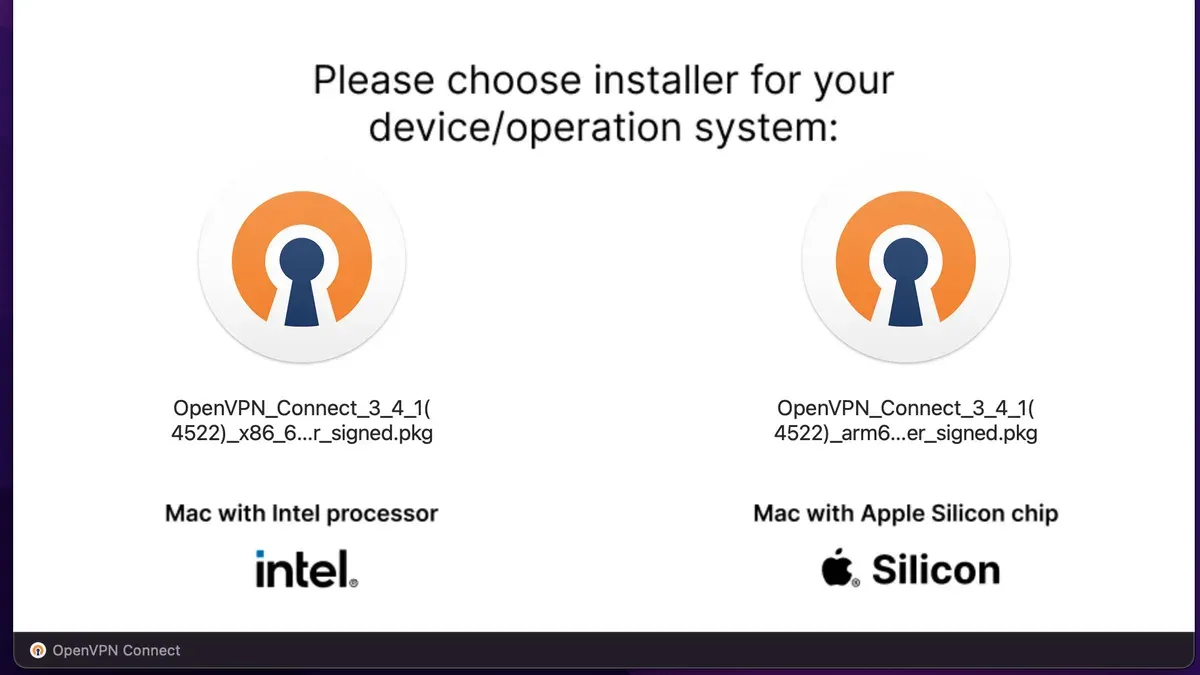
Install it from the OpenVPN website, open the downloaded installer, choose the installer for your device, Intel or Apple Silicon, and complete the prompts. After installation, launch the app from Applications → OpenVPN Connect.
Once the app opens, import your .ovpn configuration file, select the imported profile, and click Connect. If macOS asks for permission during setup, grant it; failing to do so can stop the app from creating the VPN configuration it needs.
Use this method if you want the official client and you are on a supported macOS version. It is the most direct route when you already have a provider-supplied.ovpn profile.
Install Tunnelblick if you want a free open-source client
Tunnelblick is a free, open-source OpenVPN client for macOS, and it is the better fit if you prefer community software or you are using an Apple Silicon Mac. It supports Apple Silicon natively, so you do not need Rosetta.
Download Tunnelblick from its official site, open the installer, and launch it from Applications → Tunnelblick. When macOS asks for permission to install the VPN components it needs, approve the request and complete the installation.
After that, import your .ovpn file through Tunnelblick’s VPN details area, then connect from the menu bar. This path works well when you want a simple OpenVPN client without relying on the official OpenVPN app.
Use this method if you want a free client and you are on Apple Silicon. If you use an Intel Mac, Tunnelblick can still be an option, but the Apple Silicon advantage is one of its clearest reasons to choose it.
Import your OpenVPN profile and connect
Both clients rely on the same basic input: your provider’s .ovpn file. That file carries the server address and the settings the client needs to build the tunnel, so a bad or outdated profile will fail even if the app installs correctly.
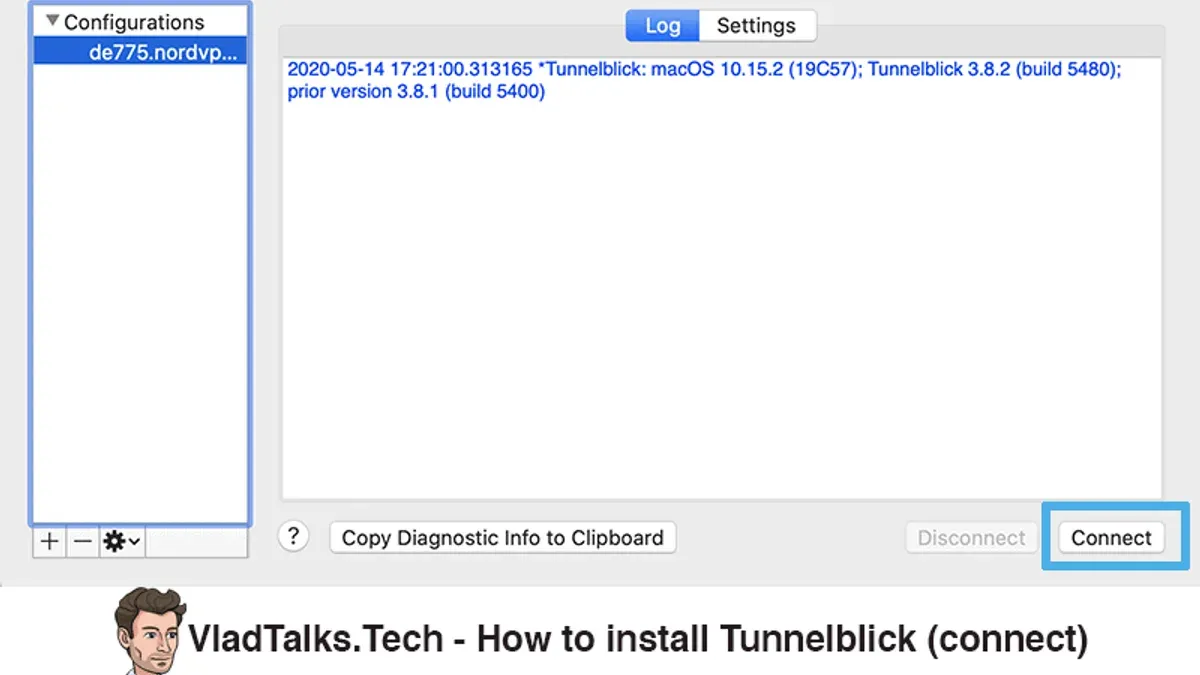
In OpenVPN Connect, import the profile inside the app, select it, and click Connect. In Tunnelblick, add the configuration through its VPN details area, then pick the profile from the menu bar and connect. If your provider included certificates or login details, keep those available in case the profile asks for them.
If a connection fails at this stage, the usual causes are a missing permission, an outdated profile, or incorrect account credentials. The app can be installed correctly and still fail to connect if the profile is not accepted by your VPN provider’s server.
Watch for the permission prompt that can block the connection
macOS requires explicit permission for apps to create VPN configurations, and that step matters during installation. If you skip it or dismiss it, OpenVPN Connect may install but still fail to establish a VPN connection.
This is the main setup point that people miss. Grant the permission when macOS asks, then finish the app’s setup before trying to connect again.
Tunnelblick also depends on a macOS approval step, so the same rule applies there: if the permission prompt is ignored, the VPN setup may not complete properly.
Check that the VPN is actually working
The fastest check is inside the client itself. A connected state in OpenVPN Connect or Tunnelblick means the profile loaded and the tunnel is active.
For a second check, verify that your public IP address has changed after connecting. If the client says you are connected but the IP has not changed, the profile or server may not be routing traffic as expected.
If you need to disconnect, use the client’s disconnect control rather than quitting at random. That keeps the session state clear and makes it easier to reconnect with the same profile later.
Choose the right OpenVPN app for your Mac
If you want the official client and your Mac runs a supported macOS version, OpenVPN Connect is the straightforward choice. If you want a free, open-source client and you use an Apple Silicon Mac, Tunnelblick is the better fit.
Both depend on the same kind of profile file, so the deciding factors are mostly the client you prefer and the hardware you own. If you already have a provider-issued.ovpn file and want the most direct official path, pick OpenVPN Connect; if you want an open-source option on Apple Silicon, pick Tunnelblick.
- How to Install and Set Up PlayStation Remote Play on Mac
- How to Install and Set Up Xbox Cloud Gaming on Mac
- How to Set Environment Variables in zsh on Mac Terminal
- How to Install Oh My Zsh in Mac Terminal: A Clear Step-by-Step Guide
Frequently asked questions
How to put vpn on mac os?
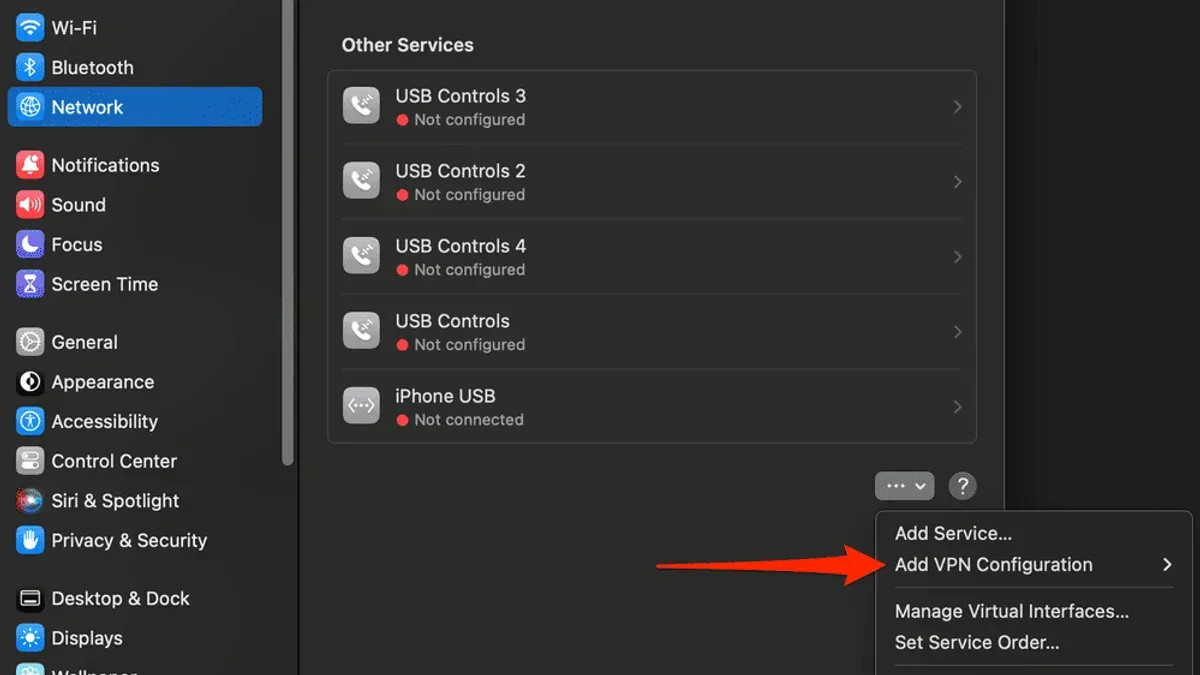
To put a VPN on macOS, install a client such as OpenVPN Connect or Tunnelblick and import your provider’s.ovpn profile. macOS does not include a built-in OpenVPN client, so a third-party app is required for OpenVPN connections.
How to install openvpn on macos?
Install OpenVPN on macOS by choosing OpenVPN Connect or Tunnelblick, downloading the installer, approving the macOS permission prompt, and importing your.ovpn file. OpenVPN Connect is the official client; Tunnelblick is the free open-source option.
How to use openvpn on mac?
Use OpenVPN on Mac by opening your client, importing the.ovpn profile, selecting it, and connecting. Once the app shows a connected state, your VPN tunnel is active until you disconnect from the client.
OpenVPN on Mac checklist
Where these Mac setup figures come from
- OpenVPN on macOS — RealVPN
- How to Install OpenVPN Connect on macOS — OpenVPN



